How to Take Product Photos With Your Phone (UK Guide)
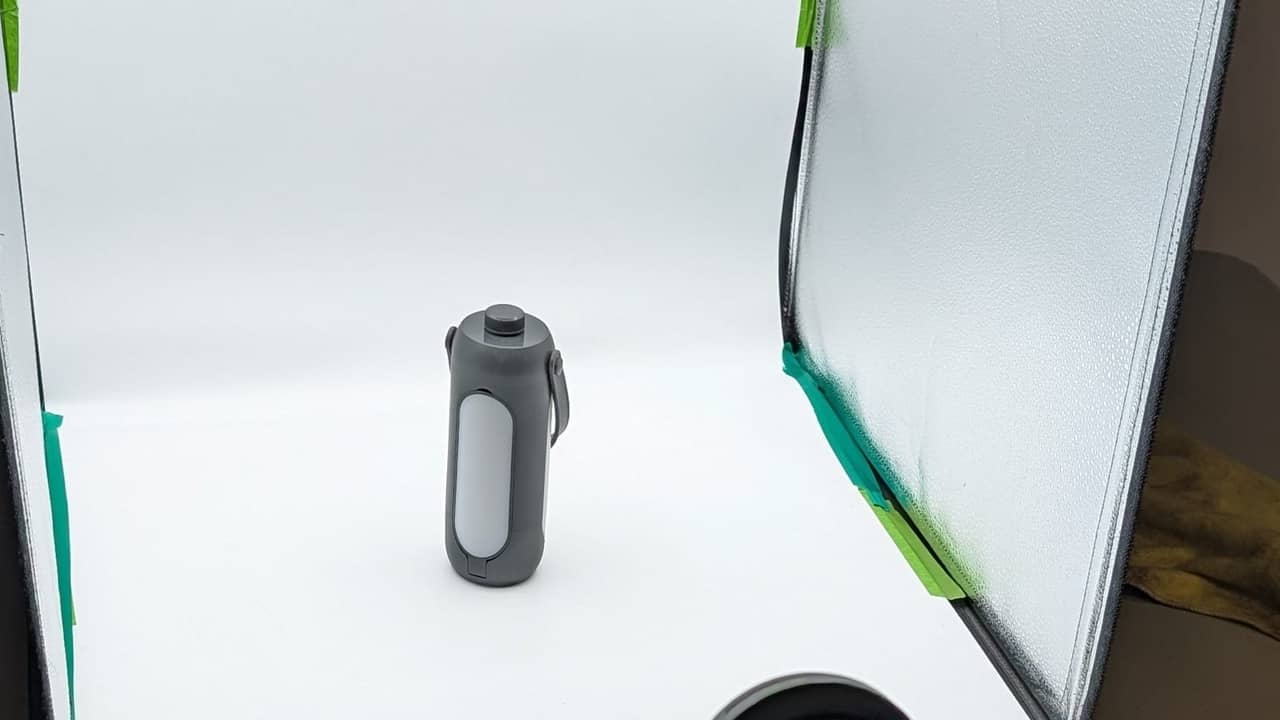
Most small businesses in the UK are not short of a camera. They are short of time, daylight and a clear process. The phone in your pocket has a sensor that would have cost thousands a decade ago, and for a large share of product photography it is genuinely enough. What separates a usable product shot from an obviously amateur one is almost never the hardware. It is lighting, background, consistency and a handful of settings most people never touch.
Set your phone camera up properly before you shoot
Default camera settings are tuned for snapshots of people and scenery. Product work needs more control, and most of it is available without a third party app.
Turn on grid lines. In the camera settings on both iOS and Android you can enable a three by three grid. The value is not composition theory, it is alignment. The grid lets you keep a bottle vertical, a book edge square and a tabletop level across a whole set of images. Inconsistent horizons are one of the fastest ways to make a product page look sloppy.
Lock focus and exposure. Tap and hold on the product until your phone shows an AE/AF lock indicator. This gives you a crude form of manual focus: the camera stops hunting between frames, and the exposure stops jumping every time you move slightly. Once locked, drag the exposure slider up or down. For products on white, nudge exposure slightly up, because phone cameras consistently underexpose bright backgrounds while trying to average everything towards mid grey.
Set white balance deliberately. If your camera app has a pro or manual mode, set white balance by hand. Auto white balance drifts between frames, which means a navy jumper comes out slate blue in one shot and purple in the next. If your native app has no manual control, a free pro camera app will give you one. Fixing a Kelvin value, or shooting a reference frame with a sheet of plain white paper, gives you something to correct against later.
Use the right lens. Phones usually default to a wide lens that distorts anything close to it. Boxes bulge, bottles lean, labels curve. Switch to the main 1x lens, or the 2x or 3x telephoto if you have one, and step back. Distance plus a longer lens gives you flatter, more honest proportions.
Use macro mode only when you need it. Macro is excellent for texture, stitching, grain and engraving, anywhere the detail is the selling point. It is not for your main listing image, because it exaggerates perspective and the depth of field is so shallow that half the product falls out of focus. Shoot the hero image normally and use macro for supporting detail shots.
Avoid portrait mode. The artificial blur is estimated rather than real, and it reliably mangles handles, straps and anything transparent.
Building a lighting setup without studio gear
Light is the whole job. Almost every amateur looking product photo traces back to a single harsh source, usually a ceiling bulb or the camera flash.
The cheapest serious light in the UK is an overcast sky through a large window. Put a table so the window is to one side of the product rather than behind the camera. Side light creates the gentle gradation across a surface that makes an object look three dimensional. Direct front light flattens everything.
Side light alone leaves the shadow side too dark. Fix it with a reflector: a sheet of white foam board from a craft shop, a piece of white card, or a baking tray lined with foil for a harder bounce. Place it opposite the window and slide it closer or further away until the shadows open up without disappearing. You want shadow, just not black shadow.
If daylight is harsh and directional, diffuse it. A net curtain, a white bedsheet pegged across the window or tracing paper taped to the glass turns a hard beam into a soft wash. For small items, a translucent plastic storage box placed over the product does the same thing.
In a workshop, salon or unit with no useful window, you can build a workable lighting setup for very little. Two cheap LED panels, or two desk lamps with matching daylight balanced bulbs, both bounced off white card rather than aimed at the product, give you clean repeatable light. The critical word is matching. Mixing a warm bulb with cool daylight puts two colour casts in one frame with no sensible way to correct either. Turn the overhead lights off and control the light yourself.
Finally, hold the phone still. A ten pound tripod with a phone clamp pays for itself immediately, because it lets you shoot thirty products from exactly the same height, distance and angle. Consistency across a catalogue reads as professionalism even when individual images are modest.
Choosing a background that suits the product
Plain white or near white is the default for marketplaces and anywhere the product needs isolating. Use a continuous sweep rather than a flat surface meeting a wall, because a visible corner line behind the product instantly reads as a kitchen table. A roll of white paper, a large sheet of card curved up against a wall or a vinyl backdrop all work. Keep the product a foot or so forward of the curve so the background falls slightly out of focus and the shadow does not run up the back wall.
Neutral texture suits lifestyle and brand led products: handmade goods, food, candles, cosmetics, clothing. Pale wood, slate, linen, plain plaster. The texture should always be quieter than the product. If someone’s eye goes to the marble before the soap, the background has won.
Whichever you choose, pick one per product line and stay with it. A shop page where every item sits on a different surface looks like a car boot sale regardless of how good each photo is individually.
Editing apps worth using
Editing is not about rescuing a bad shot. It is about finishing a decent one, and the free tier of most editing apps covers everything a small catalogue needs.
Snapseed is free on both platforms and handles the core work: white balance correction, exposure, contrast, selective adjustments, cropping and a good healing tool for dust and stray threads. Its perspective tool is useful for squaring up a box you shot slightly off axis.
Lightroom Mobile is free for basic editing, and its real advantage is copying and pasting edit settings. Correct one image properly, then apply those exact adjustments across the whole batch. That is how you get colour consistency across a catalogue without editing fifty photos one at a time.
Background removal is now largely automated. Free web tools cut out a product in seconds, and the iPhone Photos app will lift a subject straight out of an image with a long press. Quality depends almost entirely on how clean and well separated the original was, which is the argument for getting the background right in camera.
Colour accuracy matters more than people expect. Returns driven by colour mismatch are expensive and they damage reviews. Shoot a white reference card in your first frame, then use the white balance eyedropper to neutralise the cast properly rather than guessing. Resize and compress before upload, because oversized images slow a product page down and page speed affects conversion.
Common mistakes that make phone shots look amateur
The same handful of problems come up again and again. Hard shadows with sharp edges, caused by a single undiffused light or a flash. Clutter in the frame: cables, hands, packaging, the edge of the table, your own reflection in a glossy surface. Inconsistent angles and crops across a range, which makes a catalogue feel disorganised even when each photo is fine alone.
The subtler common mistakes are digital zoom, which just crops and interpolates into a soft mushy image; colour casts from warm bulbs that make white products look dirty; over sharpened, over saturated edits that make an ordinary product look fake; and missing detail shots, because buyers who cannot see the texture, the fastening or the base often do not buy at all.
Honest signs it is time to call a professional photographer
DIY phone photography is the right answer for plenty of businesses, and anyone who says otherwise is selling something. The question is not whether phone photos can be good. It is whether your time and your images are costing you more than a session would.
Some reasonable signals that a professional photographer is now the cheaper option:
The shoot is eating days, not hours. If a full day every month goes on photographing stock, the value of that day is part of the cost of doing it yourself.
Your price point has risen. Buyers apply a rough expectation of image quality to price. A fifteen pound item gets away with a lot. A two hundred pound item photographed on a kitchen worktop creates doubt about everything else.
You are paying for advertising. If images are being pushed to a cold audience at a cost per click, weak creative makes every click more expensive.
The products are genuinely difficult. Reflective metal, glass, jewellery, anything transparent or very large, and anything where colour must be exact, such as paint, fabric or cosmetics. These are lighting problems rather than camera problems, and experience makes the biggest difference there.
You need people in the frame. Products that are worn, held or used usually sell better with a person involved, which brings modelling, direction and lighting a face into the picture.
A sensible middle path is to commission a session for your core range and launch pieces, then shoot variations and restocks yourself against that standard. You end up with a documented setup, angle and lighting position to copy, which tends to be the best value across a full year.
If you have reached that point, or you want brand imagery and team portraits that sit alongside your product shots, take a look at portrait and aerial photography from Flexxed and get in touch about what your range actually needs.
Questions
Frequently Asked Questions
Can a phone really take good enough product photos for an online shop?
For most small catalogues, yes. Modern phone sensors handle well lit, static subjects very well. The limiting factors are almost never the camera: they are lighting, background and consistency. Fix those three and phone photos will hold up perfectly well on a product page or a marketplace listing.
What phone camera settings should I use for product photos?
Turn on grid lines, lock focus and exposure on the product with a long press, set white balance manually if your camera app allows it, and use the main or telephoto lens rather than the ultra wide. Avoid digital zoom and avoid portrait mode for anything that needs to look accurate.
Do I need a lightbox?
Only for small items. A window with net curtain diffusion and a white card reflector does the same job for free, and it scales to larger products that would never fit in a lightbox. Buy a lightbox if you photograph jewellery, cosmetics or similar small goods in volume.
How do I remove the background from a product photo for free?
Several free web and app based tools will cut out a product automatically, and the iPhone Photos app can lift a subject from its background with a long press. The cleaner and more evenly lit your original shot is, the better the automatic cut out will be, so get the background right in camera first.
When is it worth paying for professional product photography?
When the cost of a session is small relative to the revenue the images influence. If you are launching a range, selling at a higher price point, pitching to retail buyers, or spending money on ads that use your images, professional shots usually pay for themselves faster than people expect.